01
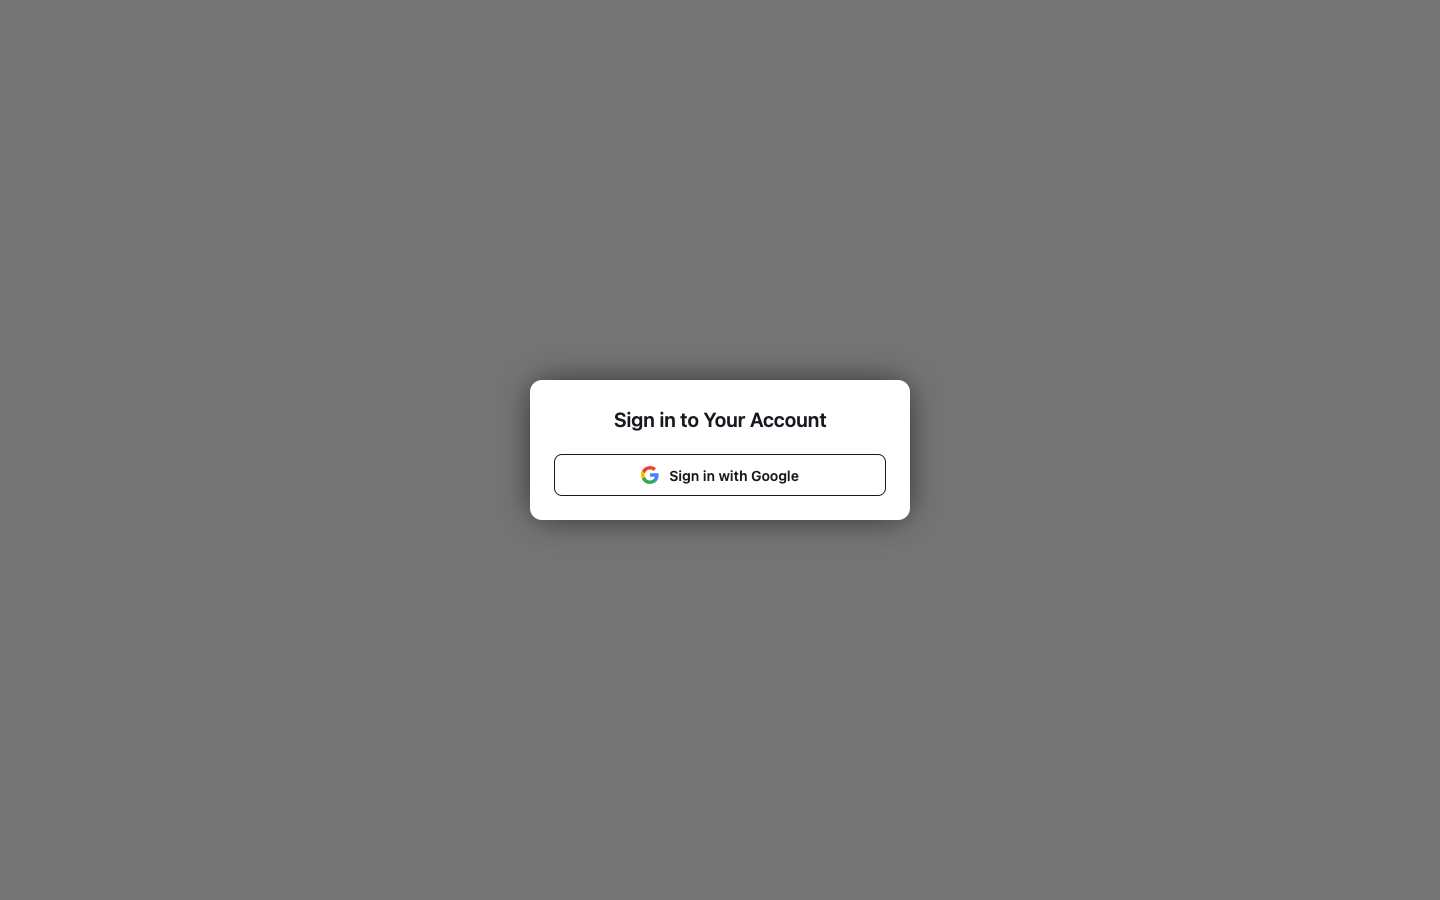
Sign in with Google
Schedule owners authenticate with an existing Google account — there is no separate password to issue or rotate. The same OAuth consent that identifies the owner also grants the calendar access the plugin needs to read availability and create events. Invitees never see this screen: the public booking page stays open to anyone holding the link.
02
Appointment schedules
The organizer’s home screen. A week or month calendar shows bookable windows and everything already reserved, while the sidebar lists every appointment schedule — Internal Meeting, External Meeting, Phone Call, a custom two-week window. Each is an independent set of rules with its own shareable link, and each can be toggled on the calendar to see exactly which availability it exposes.
03
Create a schedule
Setup runs in two clear steps. Details covers the organizer name guests will see, the meeting title and an optional description for context. Availability covers the time zone, the repeat rule, bookable dates with start and end times, and the meeting lengths on offer — 15, 30, 45, 60 or 90 minutes. The guest picks one of those lengths before confirming.
04
Share the link and QR
Every schedule can be shared as a short URL or as a downloadable QR code that opens the booking page directly. The code goes on a slide, a badge, an email signature or a business card. This single artefact is what replaces the entire “when are you free?” conversation.
05
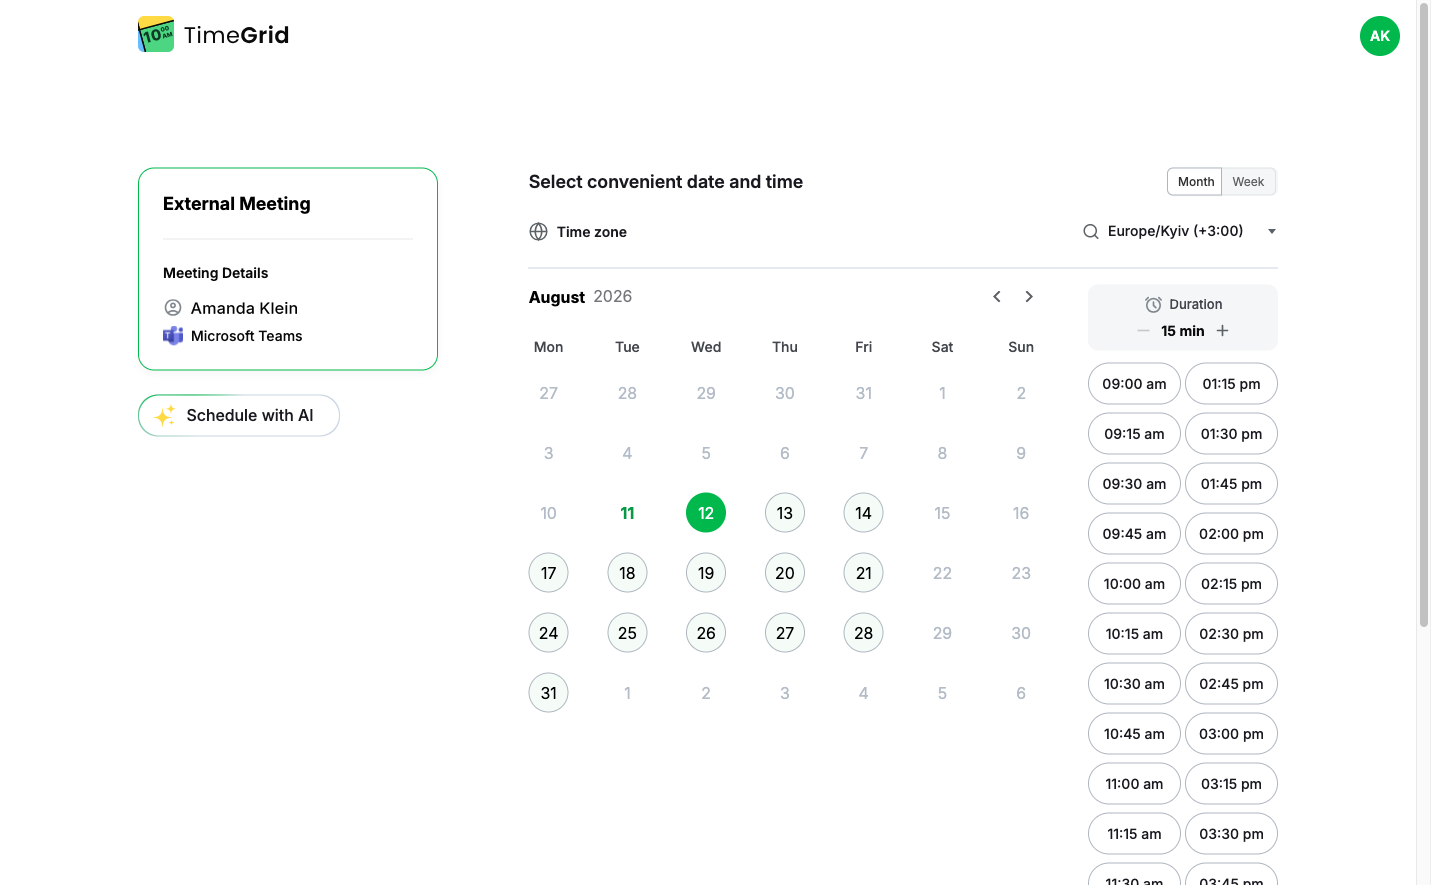
Pick a date and time
What the guest sees. The meeting card names the organizer and the communication type; the calendar greys out anything unavailable and offers only slots that are genuinely free. Time zone is detected and switchable, meeting length is adjustable within the allowed options, and the whole page works without an account. A Schedule with AI shortcut sits directly beneath the meeting card.
06
Month or week view
The same booking page in week layout, laid out side by side across days, for guests who would rather compare a whole week at once than drill into a single date. This screen also shows the plugin on a different site: because it runs inside your own WordPress, the booking page carries your brand, your domain and your sign-in.
07
Guest details
For guests who are not signed in, the confirmation screen collects name, email and an optional phone number, protected by a verification code. No account is created and no password is stored. Per schedule, the owner can also require email verification — the booking is only finalized once the attendee clicks the link sent to them.
08
Confirm and book
The final step restates everything before anything is written: organizer, attendee, date, time with the explicit time zone, and the communication type. An optional meeting-notes field lets the guest bring an agenda into the invite. One click on Book Meeting creates the Calendar event and sends the confirmation emails.
09
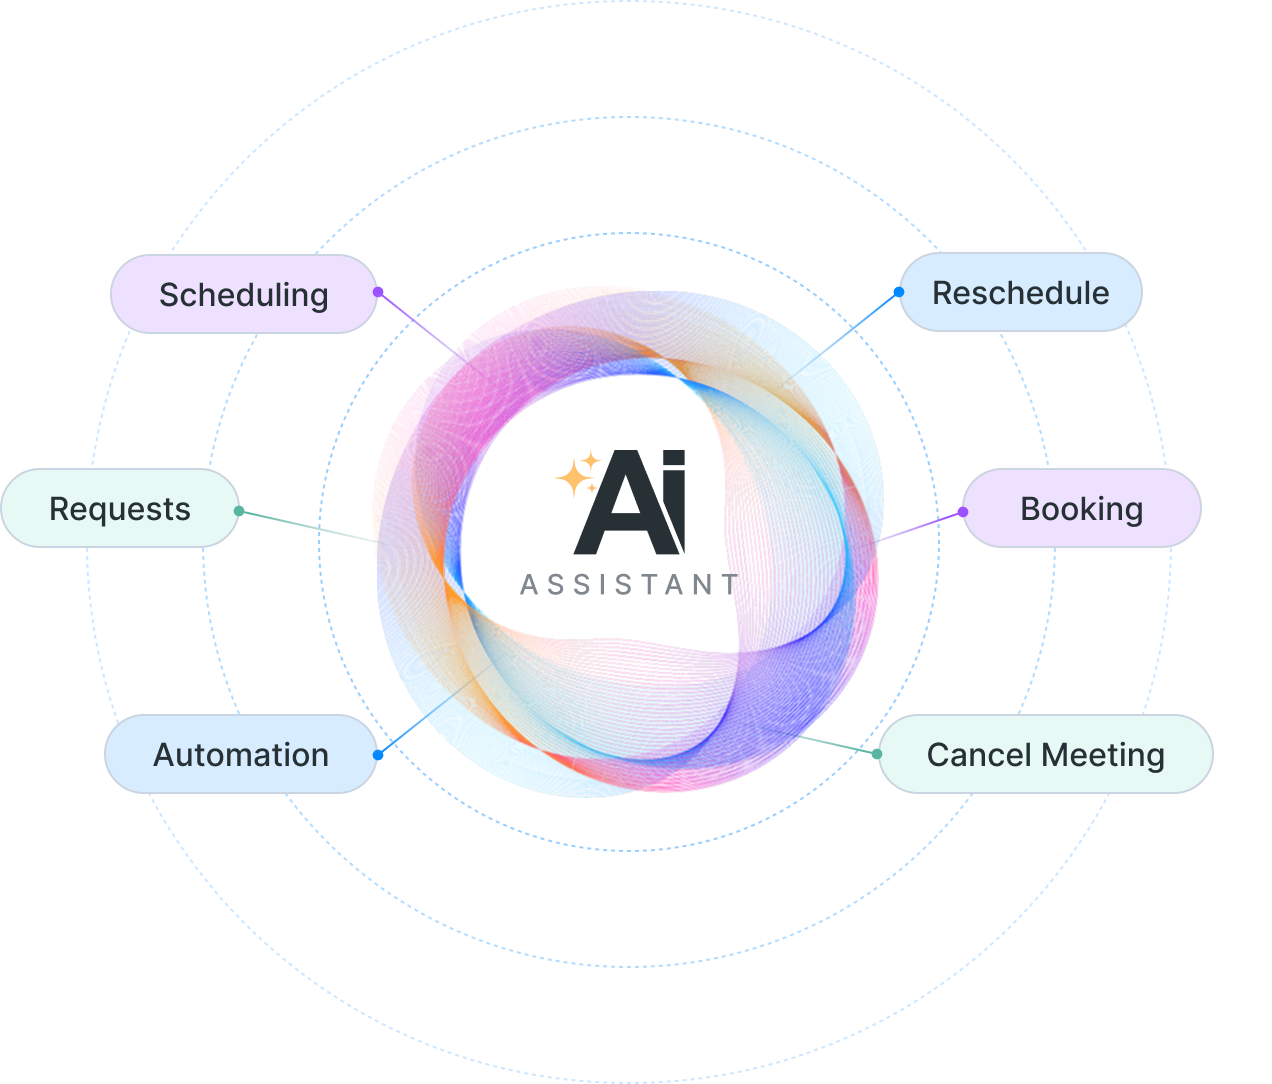
Schedule with AI
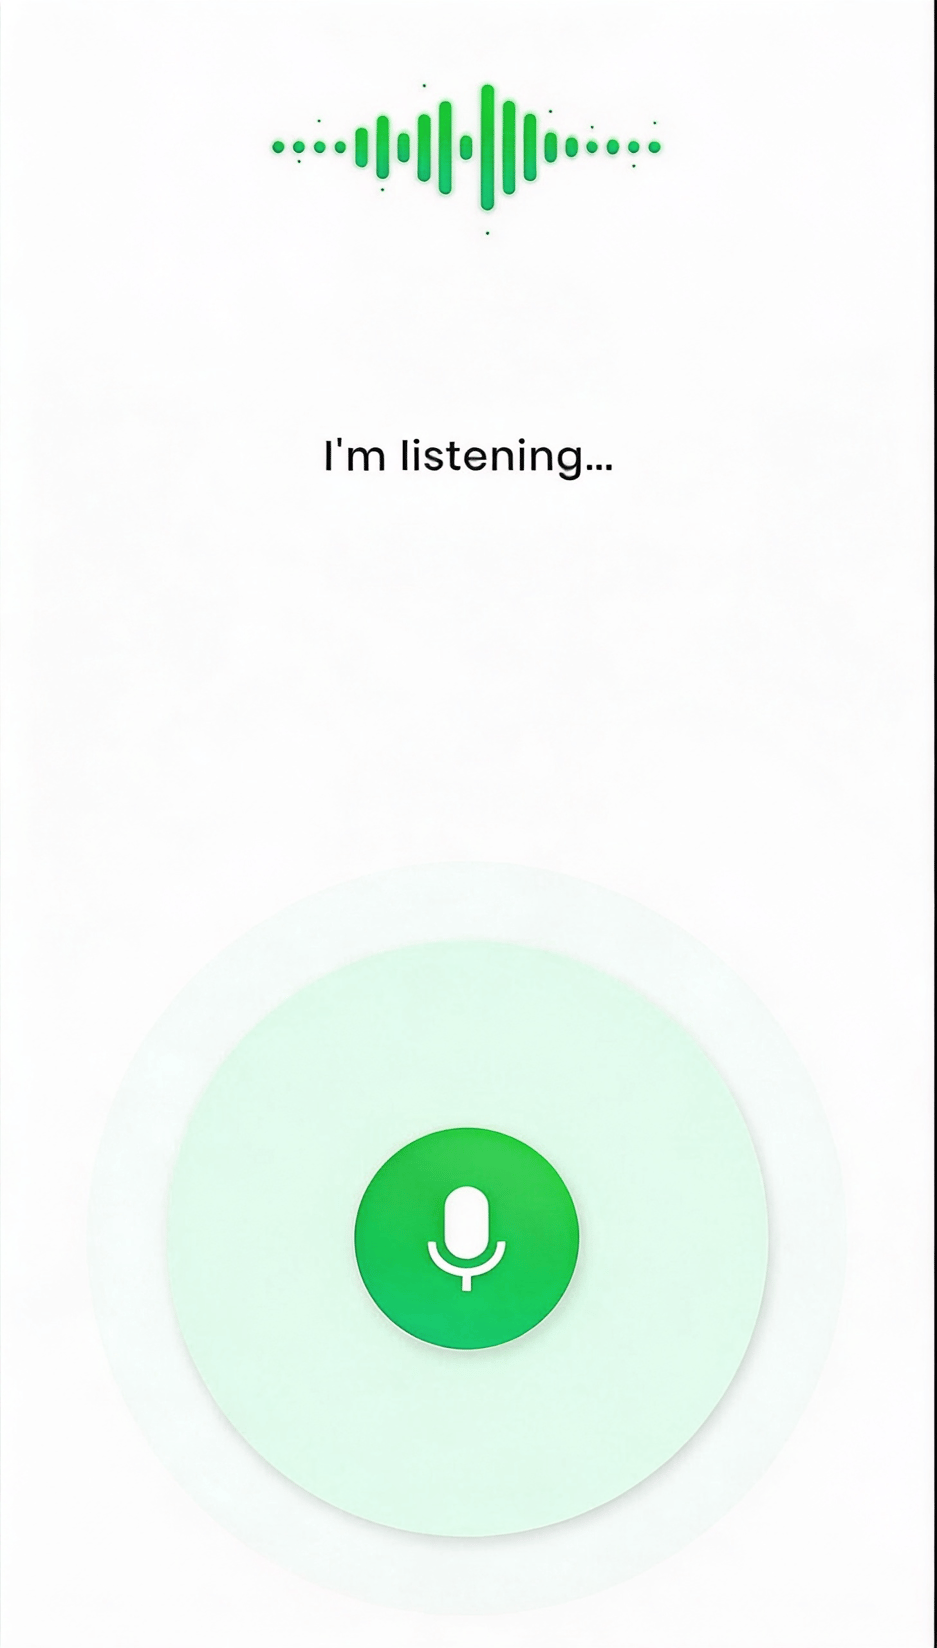
The optional conversational layer over the same booking engine. The assistant states what it can do — schedule meetings, find the best time, reschedule or cancel — and offers one-tap intents for the common cases. Anything else can be typed, or dictated through the microphone for fully hands-free scheduling.
10
Account
The signed-in identity stays visible from the calendar header, with the account name, address and sign-out in one place — so it is never ambiguous whose availability the schedules are publishing.